How to brief a custom 3D printed part
By the Partvo team · Updated September 5, 2026
A useful brief describes what a part must fit, what it must do and what still needs to be measured. Here is the brief we want for Partvo’s initial enclosure and mounting-plate workflows.
Partvo is in development. This is a preparation guide, not a live quotation or an engineering approval.
Start with the interfaces
Describe what attaches to the part before describing its appearance. For an enclosure, that might be a circuit board, connector, lid and mounting surface. For a bracket, identify both objects being joined.
- Give all dimensions in one stated unit, preferably millimeters.
- Record hole diameters and center-to-center spacing. Label the reference edge used for each measurement.
- Include the largest allowed outer dimensions and areas that must remain clear.
- Mark uncertain measurements explicitly. A photo without a known scale does not establish exact dimensions.
Example: the enclosure on our homepage
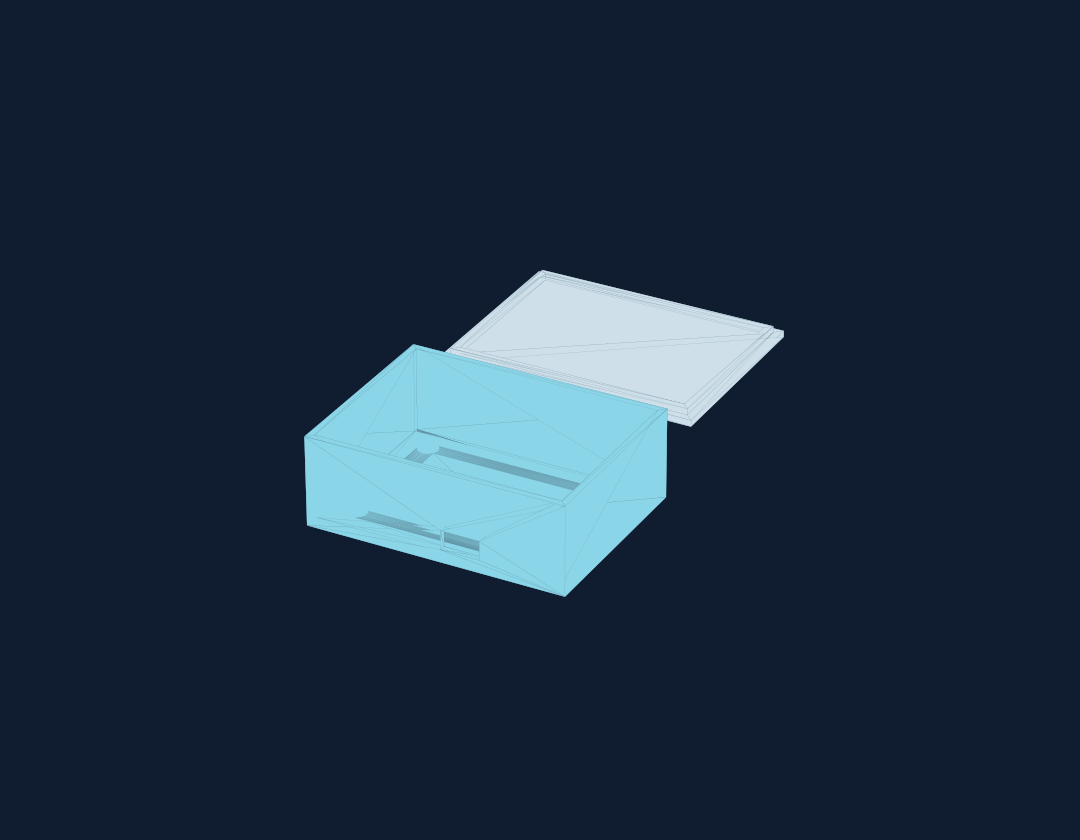
Our displayed CAD example has outer dimensions of 80 × 60 × 28 mm. Those outer dimensions alone do not establish whether a board fits inside. Before turning this example into a manufacturing request, we would need the board outline, mounting-hole locations, component heights, connector access and lid requirements.
This is a CAD illustration. We have not physically tested its fit or strength.
Copy this project brief
Part type: enclosure / mounting plate
Purpose:
Units:
Maximum outer size:
Objects it attaches to:
Hole diameters and center spacing:
Required openings and keep-clear areas:
Indoor or outdoor use:
Expected forces, heat or moisture:
Material requirements and reason:
Fit-test dimensions and acceptance criteria:
Desired quantity:
Delivery country and target date:
Known measurements:
Measurements still uncertain:
Photos or sketches available:
Separate requirements from preferences
“The connector must be accessible” is a requirement. “I prefer a rounded lid” is a preference. State which dimensions cannot change and where the design has room to change. Do not guess a material, clearance or wall thickness merely to fill a blank: those choices need to be checked against the design and manufacturing process.
Make the material decision explicit
Describe the conditions before choosing a material name. For the enclosure example, record the highest expected temperature, whether it will stay outdoors, whether the lid opens repeatedly and which surfaces must fit another object. Mark each answer as measured, estimated or unknown.
- Fit: Which hole, board edge or connector is the tightest interface? Define how you will check it on a small test print.
- Use: Record heat, moisture, sunlight and expected forces, including repeated bending or assembly.
- Process: Ask which printing orientation, surface finish and post-processing the chosen material needs.
- Evidence: Before approving a material, review its specific technical data and the proposed manufacturing conditions. A generic label such as “resin” does not establish suitability.
Keep the chosen material, its reason and any unresolved requirement in the brief. Our free open-source skill provides a material-question workflow an agent can use with you.
Before requesting a print
Review the exact design version, units, critical dimensions, material, quantity and delivery destination. A manufacturing quote should be associated with that reviewed version. A later design change should trigger another review.
For now, email a short description to the Partvo team. Please do not send confidential CAD files in an initial inquiry.